Every site is structured using Layouts and Pages.
Layouts
A Layout contains persistent elements that wrap around pages (e.g. headers, footers, sidebars, or navigation bars) without re-rendering them on every route change. This improves performance and creates a smoother user experience.
Pages
A Page contains content for a specific route and renders inside a layout.
Default Site Structure
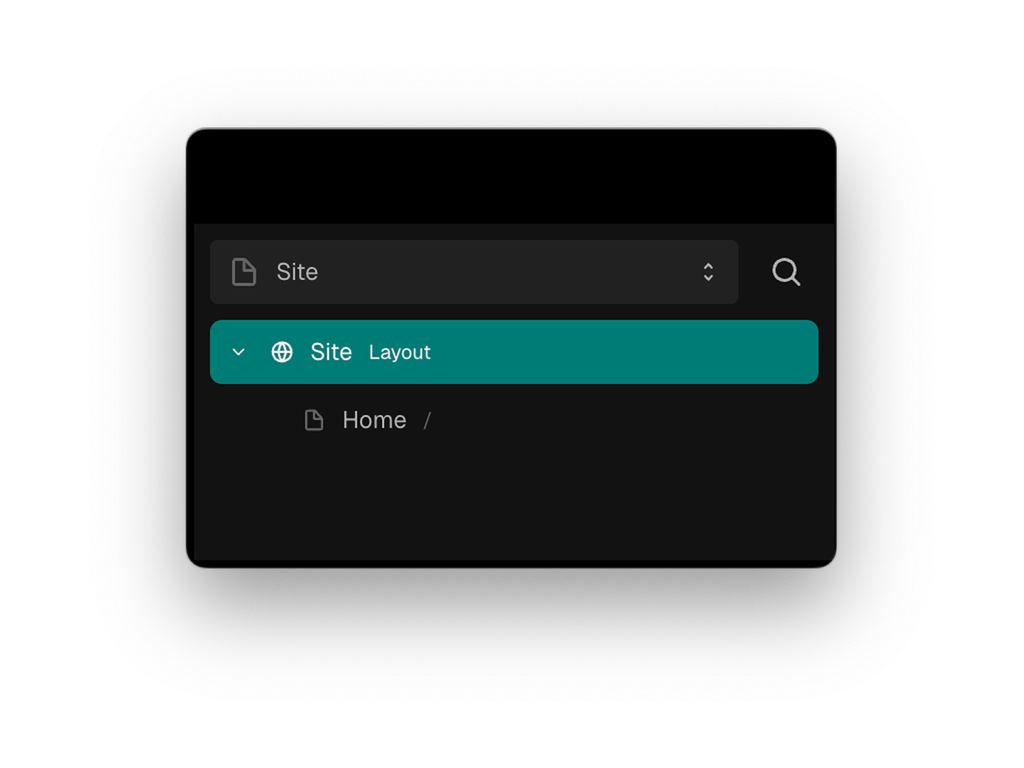
All projects start with a special layout called the Site Layout. This layout sets the foundation for your site’s global structure and styling.

Inside the Site Layout, you’ll find a Home page. This is your default landing page and renders at your root domain (e.g.,
yoursite.com/).To explore your project’s structure, use the Navigator on the left side of the editor. It lets you toggle between layouts and pages and select which one to work on.
Adding Layouts and Pages
You can add additional Layouts and Pages from the Library.
All projects start with a default Site Layout, but you can insert more layouts to support more complex structures. Use additional layouts when:
- You need separate interfaces for different parts of your site (e.g., auth, dashboard, marketing)
- You want to group related pages together, like folders
Use additional Pages to create new routes. Each page displays content at the path defined in its properties.

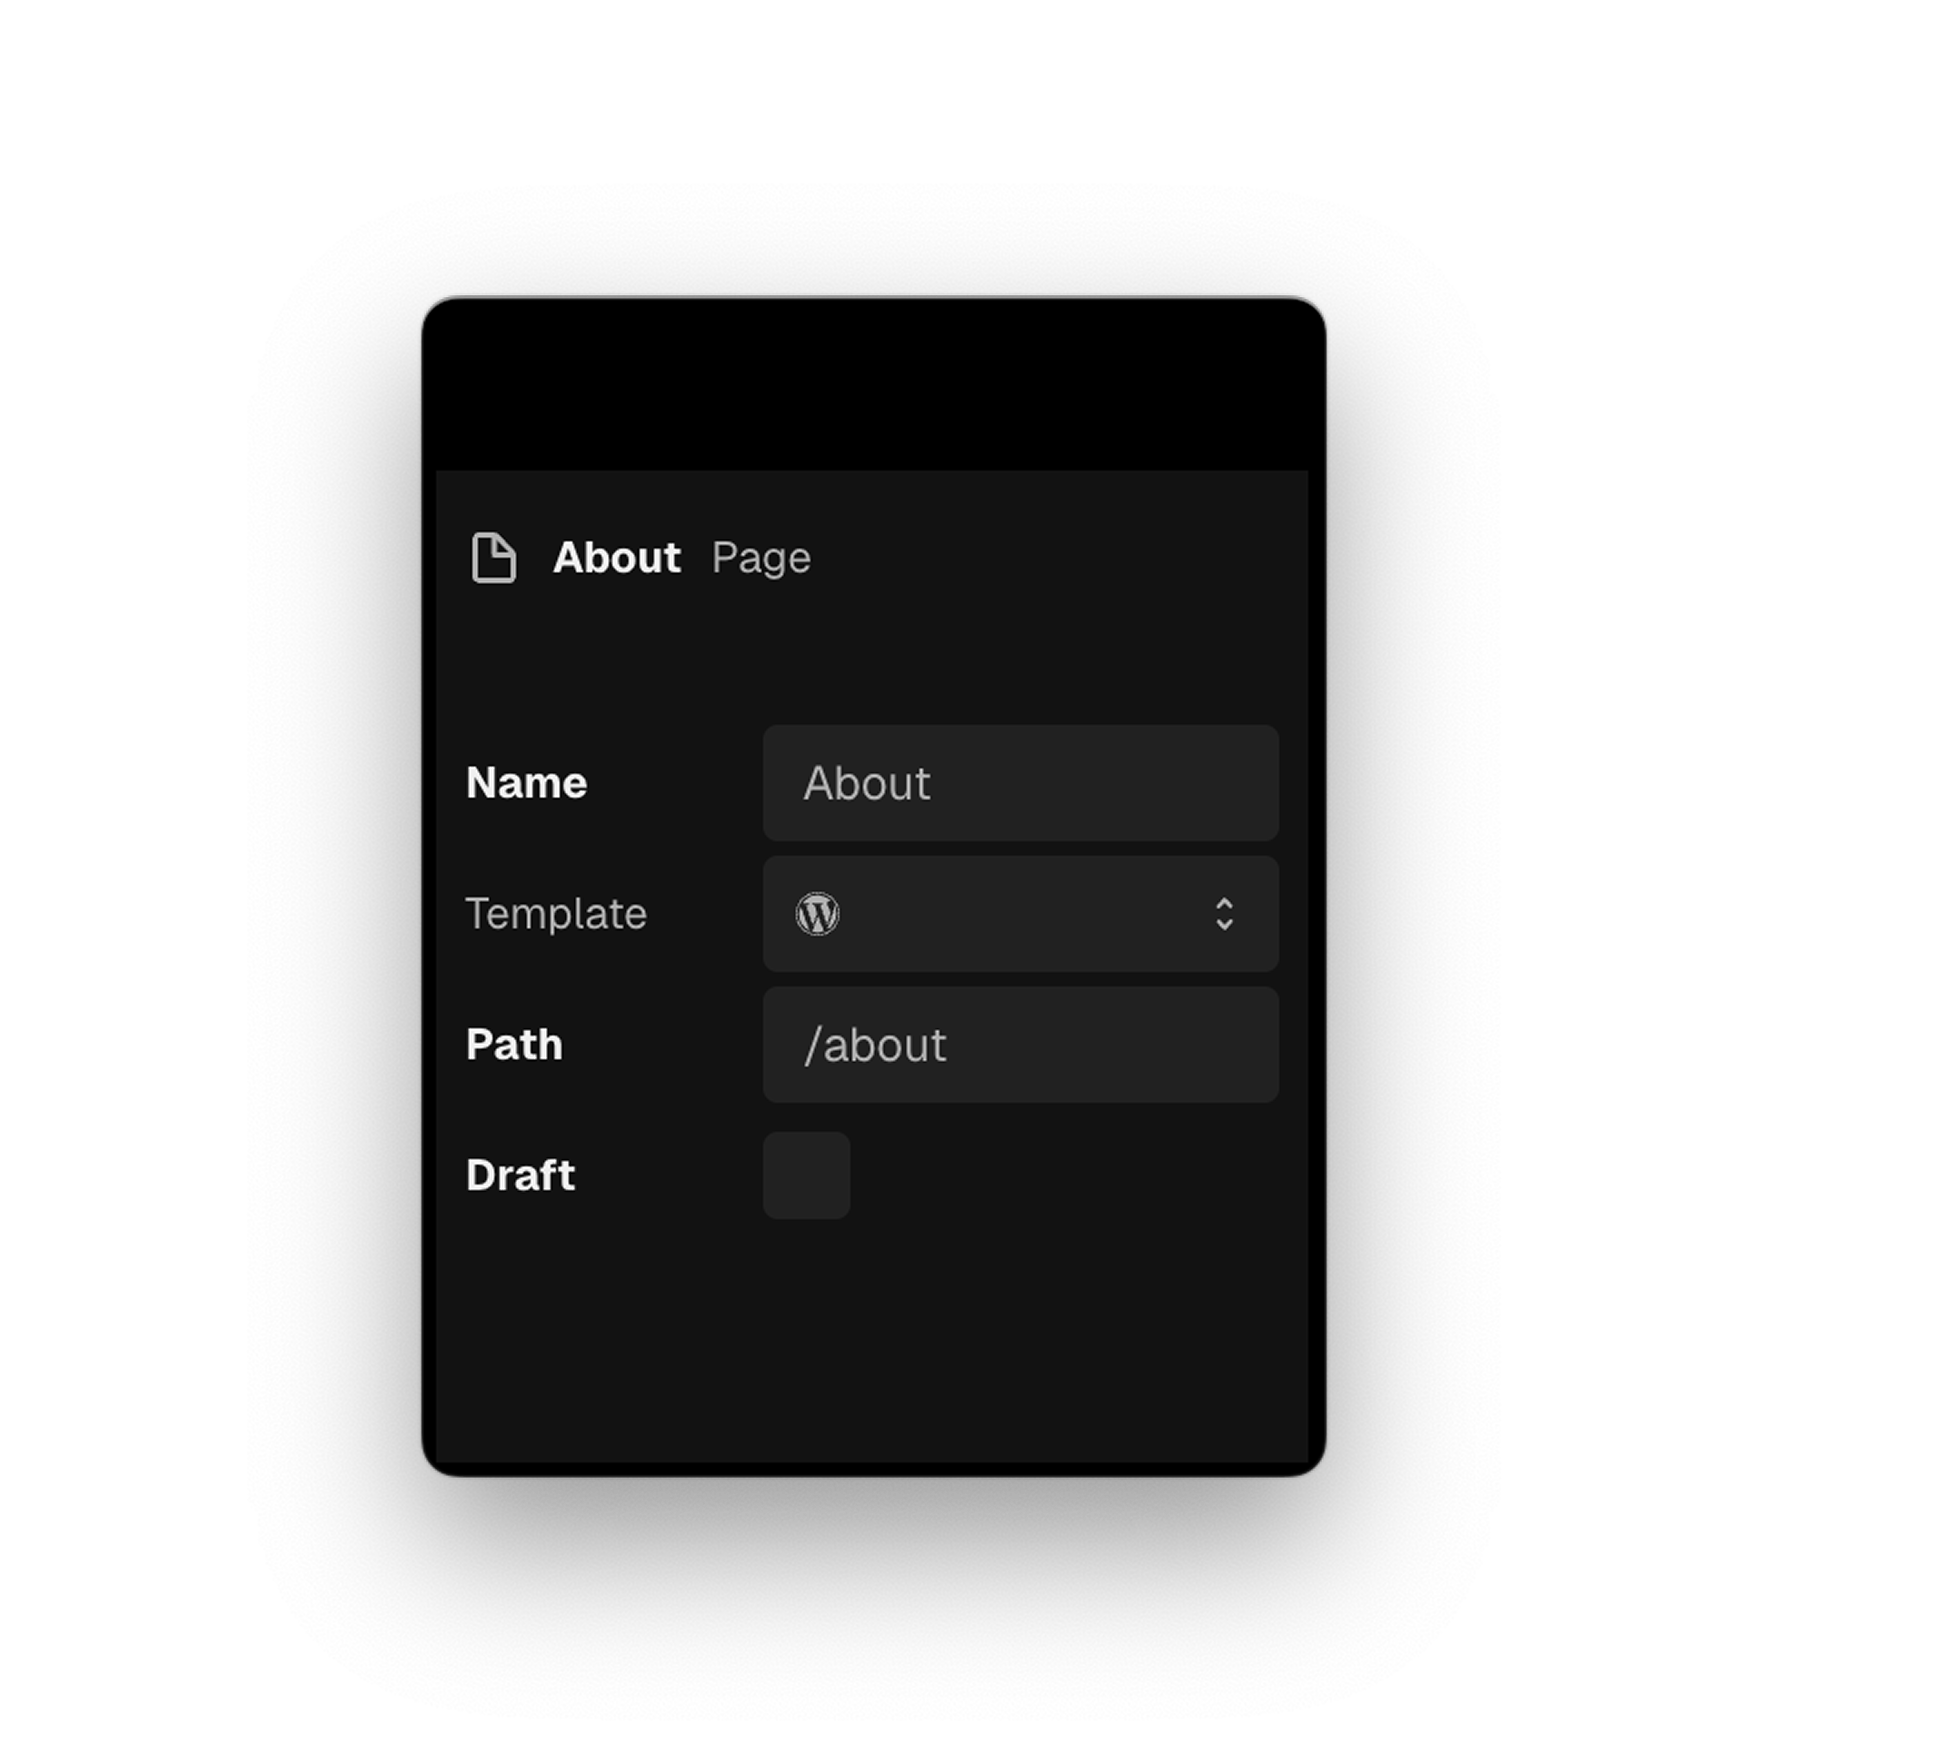
Each page has properties like:
- Name – for identifying the page
- Template - Used for selecting a page template from WordPress, this will be discussed further in the connecting WordPress section
- Path – the route where the page lives (e.g.,
/about)
- Draft - when set does not publish the page.
These are configured in the Properties Panel after you add a page.
Visual Feedback:
- Blue highlights = editing a Page
- Green highlights = editing a Layout
This helps you keep track of your context while editing.
Exercise
Add a New Page
- Insert a new page from the Library
- In the Properties Panel, name it
Aboutand set the path to/about
Add Heading Text to Identify Each Page
You’ll now add a Heading 1 primitive to each page to make them easy to recognize while editing.
To add a Text component:
Press
1 or use the quick strip in the Composition panel to insert a Text primitive and change the tag to an h1.Select the Home page in the Navigator and add a Heading 1 primitive that says
Home.Then select the About page and add a Heading 1 primitive that says
About.When you switch between pages in the Navigator, you'll see that each one only displays the content you added.
Add Navigation
Next, you’ll add basic page links directly to the Site Layout using the Link primitive.
Press
L or use the quick strip in the Composition panel.Add two Link primitives to the Site Layout.
For the first Link:
- Set the
hrefproperty of Link to/
- Set the
textproperty of Text toHome
For the second Link:
- Set the
hrefto/about
- Set the
texttoAbout
These links will now navigate between the Home and About pages when clicked. You can position them anywhere in the layout
Conclusion and Next Steps
You now have a simple, working site structure:
- A Site Layout that wraps all your pages
- A Home page and an About page with distinct content
- Basic navigation using Link primitives
This gives you a strong foundation for how layouts and pages work together to define your site.
Next up: Learn how to use Sections to structure content within your pages. Sections help you organize your layout, group components, and build consistent, reusable page structures.
