
This guide will walk you through creating your first project. You’ll learn how to about Layouts, Pages and Adding Navigation.
By the end, you’ll have a functional static website and an understanding of the basics of Clutch.
Creating a Project
To create a project in clutch select the New Project button. If this is your first project you will see a + Create New Project button in the center of your dashboard.
You will then be asked for your project name and the workspace to create the project.
Adding a Layout
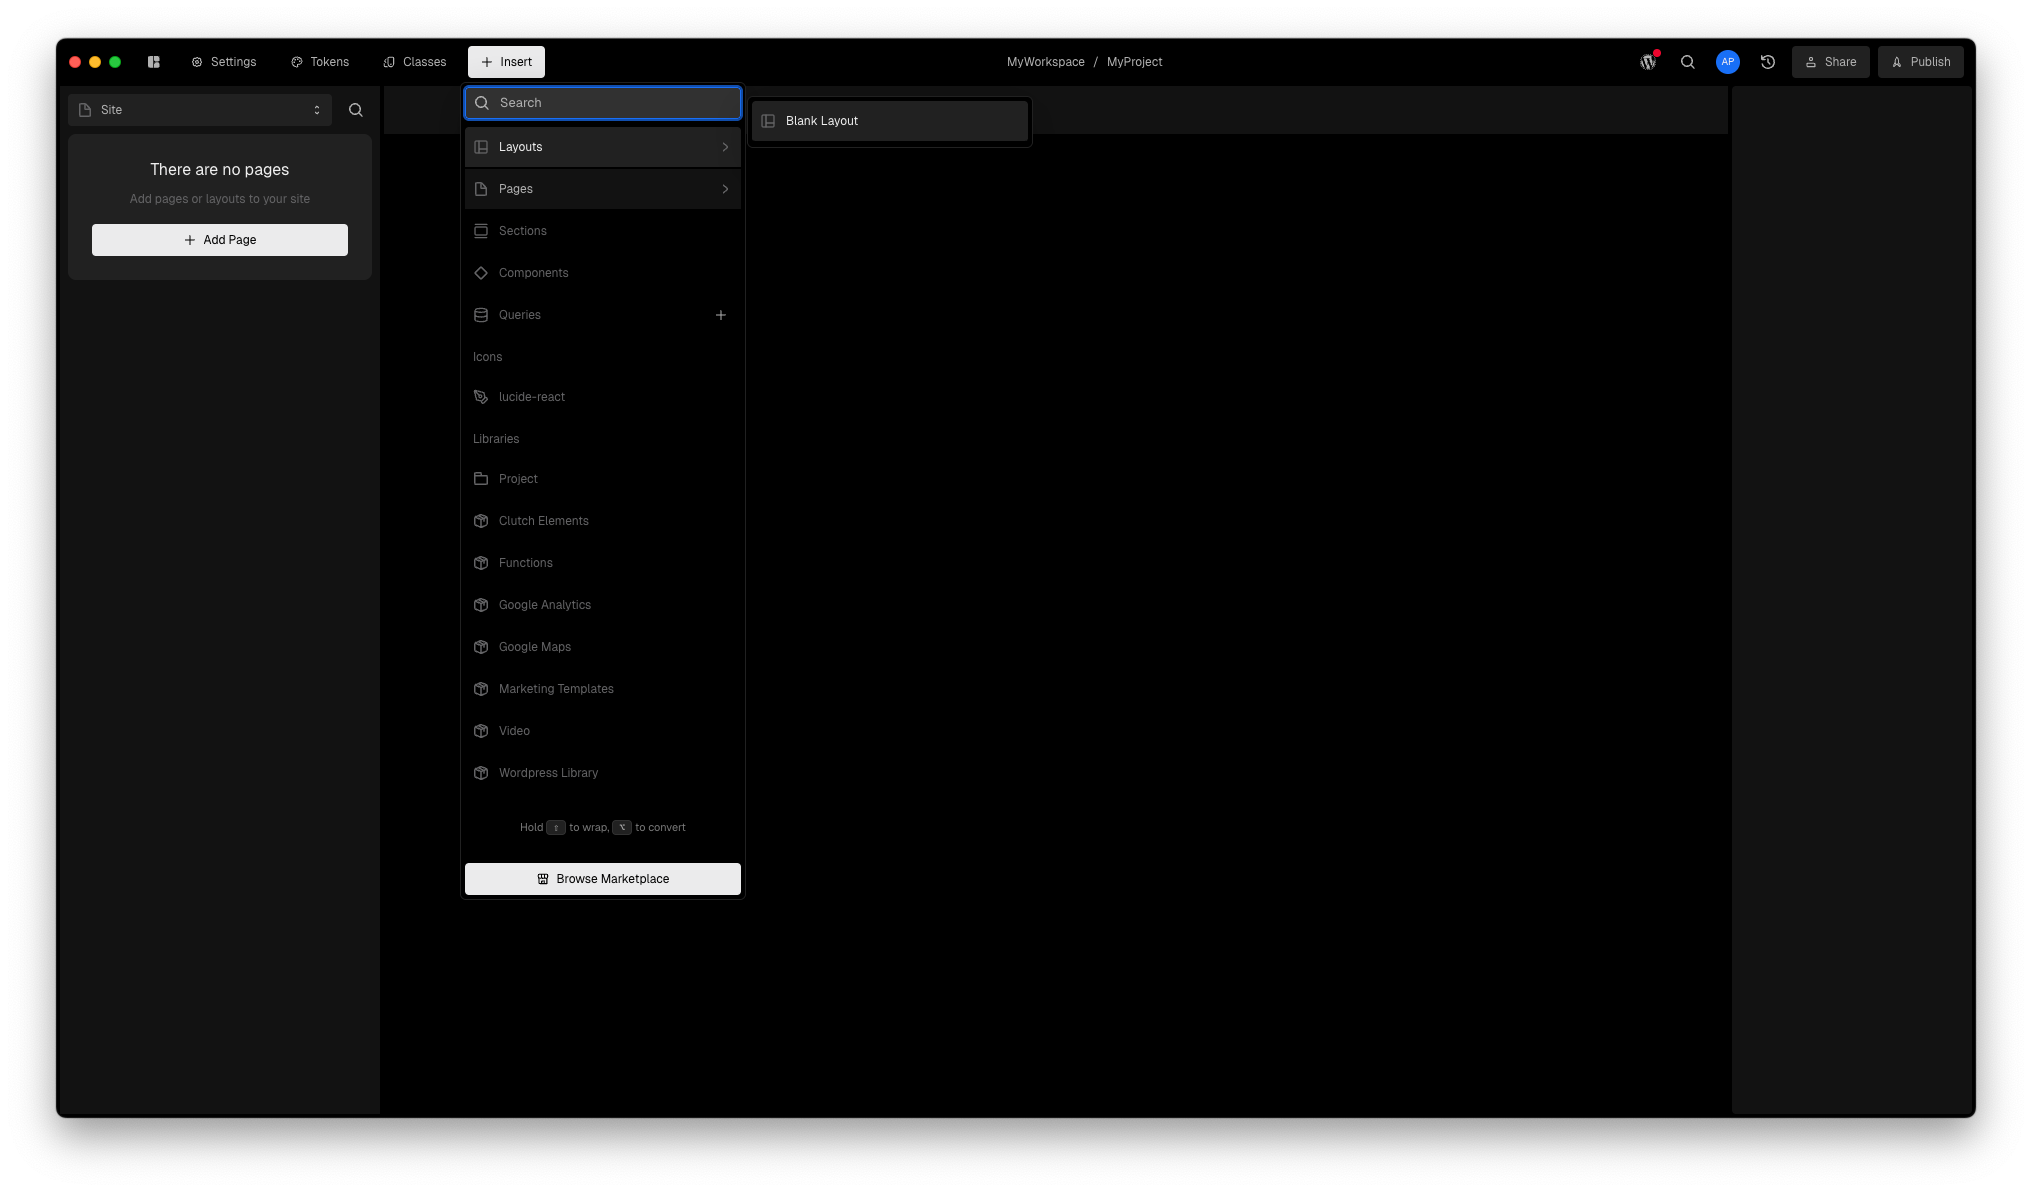
A Layout can be added to your site using the Library.
By default, adding a layout automatically includes a nested page. Layouts require a page to display content, so one is created for you.
A layout is a reusable structure that helps maintain consistency across multiple pages. It typically includes shared elements like headers, footers, and navigation. Layouts allow you to define a consistent design while keeping the main page content separate.
Adding a Page
A Page represents a specific route in your project and is where you compose the content displayed for that path.
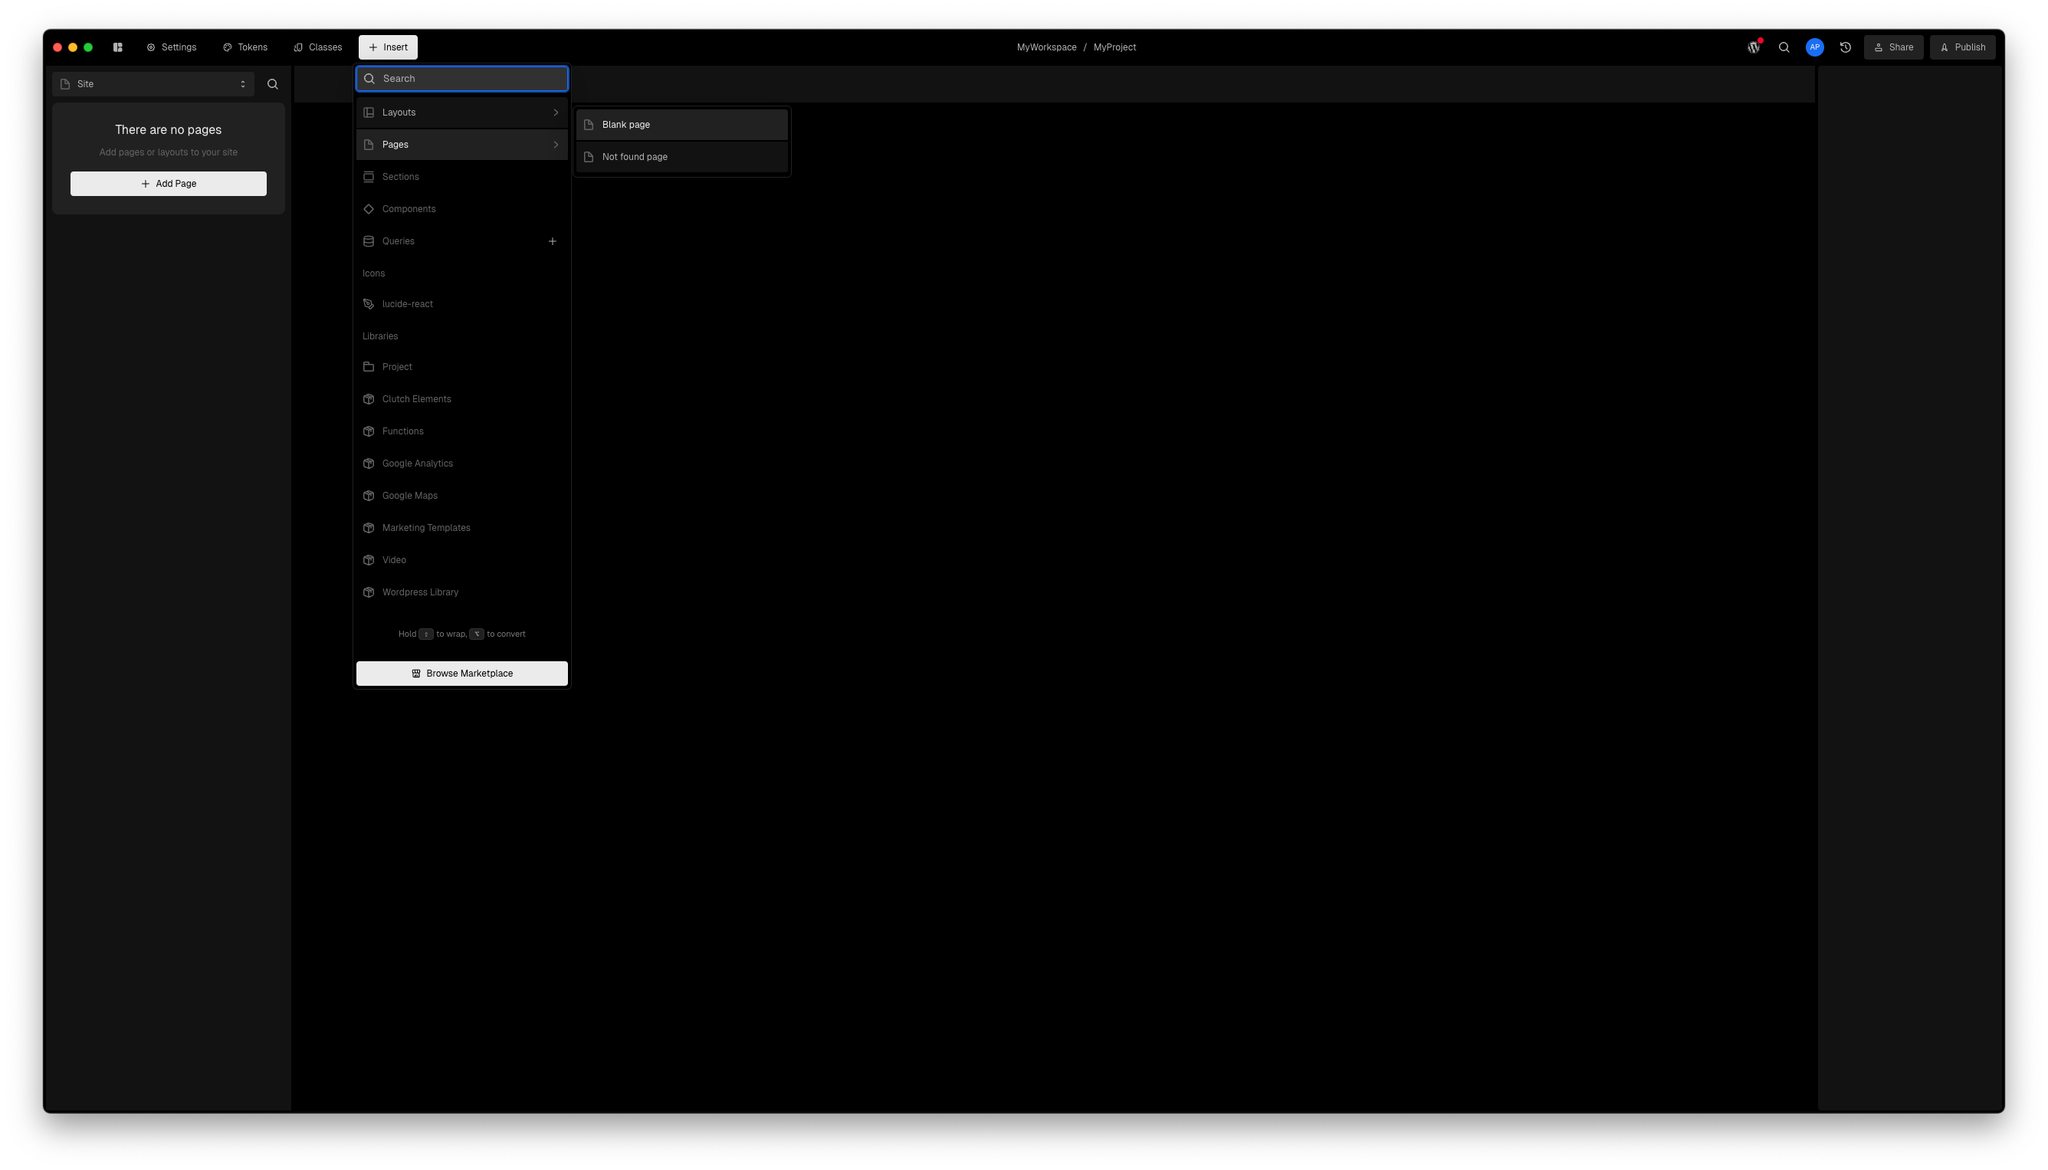
To add a page, select + Add Page in the left panel. This opens the Library, which contains the essential building blocks for creating sites, including layouts, pages, sections, components, and queries. These elements help structure content, design interfaces, and connect to data.
In the Pages category, select Blank Page to create a new page.
You can open the Library anytime with
i Adding Sections
A Section is a self-contained standalone block of content that helps structure a page. Sections group components together creating distinct areas of a page.
Sections can be added to Layouts and Pages from the Library. Open the Library and choose a Section from the Sections category
Styling
Clutch provides multiple ways to style components, including:
- Applying styles directly to components
- Using Tailwind scales
- Creating classes for reusable styles
- Applying Tailwind Utility classes
- Defining tokens for consistency
- Adding a style prop for inline styling
For a deeper dive into styling, refer to the Styling Documentation.
Increase the Hero Title Size:
- Select the Title component inside the Balanced Hero section.
- In the Styles Panel locate the Font Size property.
- Click the green lightning bolt icon in the input field.
- Search for and select 8xl.
Modifying the Composition
Adding Navigation
To enable navigation between pages, add a navbar to the layout. Since layouts share content with all nested pages, this ensures a consistent navigation structure across your site.
Adding a Navbar
- Select the Layout in the Navigator.
- Open the Library.
- Go to the Navbars category and select Basic Navbar.
- If needed, drag the Navbar above the page slot in the layout to ensure it appears at the top.
Configuring Links
The Basic Navbar includes several placeholder links. For this guide, only two are needed—the rest can be deleted.
- Select the Navbar in the Navigator.
- Click on the first Link Component.
- In the Properties Panel, update:
- href → Set to
/.
- Select the Text Component inside the Link, then update its text to Home.
- Repeat these steps for the second Link Component:
- href → Set to
/about. - Select the Text Component inside the Link and set its text to About.
Applying Navigation to All Pages
Layouts automatically share their content with nested pages. Right now, only the About page is inside the layout, meaning the Home Page does not yet inherit the navbar.
To fix this:
- Open the Navigator.
- Drag the Home Page into the Layout, alongside the About page.
Now, both pages share the same navbar, and any future updates to the layout will apply to both.